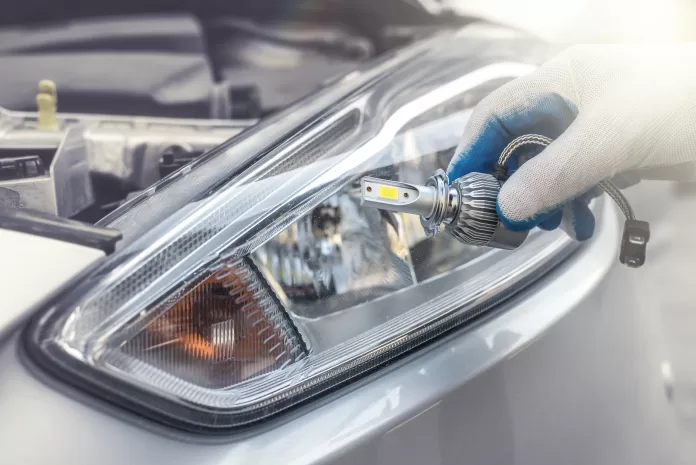
Driving at night relies heavily on your vehicle’s headlights. A burned-out headlight bulb not only compromises your visibility but also significantly reduces your safety and the safety of others. While a mechanic can certainly replace your headlight bulb, it’s a surprisingly simple task you can often handle yourself, saving you time and money. However, your vehicle’s specific design will influence the exact procedure, so always consult your owner’s manual for detailed instructions tailored to your make and model.
Before You Begin: Safety First!
Before even touching your vehicle’s lighting system, ensure your vehicle is parked on a level surface, the engine is off and the parking brake is engaged. Never work on your car’s electrical system while the engine is running. Also make sure the headlights are off and the bulbs have cooled completely before handling them. Use gloves to protect your hands from grease and potential cuts.
Step 1: Identifying Your Headlight Bulb Type
The first step is identifying the type of headlight bulb your vehicle uses. This information is crucial as it dictates the correct replacement. Your owner’s manual will specify the exact bulb type (e.g., H7, H11, 9005, etc.). Failing to use the correct bulb can lead to improper fitment, reduced light output, or even damage to your vehicle’s electrical system. You can also find this information on the bulb itself, if it’s easily accessible.
Step 2: Gathering Your Tools and Materials
To replace your headlight bulb, you’ll need a few basic tools. These include:
New Headlight Bulb: Ensure you purchase the correct bulb type, as identified in Step 1. Buying a quality bulb from a reputable automotive parts supplier is recommended for optimal performance and longevity.
Gloves: Protect your hands from grease and possible cuts.
Owner’s Manual: This will provide specific instructions and diagrams for your vehicle.
Appropriate Socket/Wrench (if needed): Some headlight assemblies require specialized tools to remove the bulb housing. Your owner’s manual will normally specify what tools you need if this is the case.
Flashlight: This will help illuminate the area you’re working on, especially in low-light conditions.
Towel or Rag: This can be used to clean surfaces and prevent grease from damaging the new bulb.
Step 3: Accessing the Headlight Assembly
The method for accessing your headlight assembly varies significantly depending on your vehicle’s make and model. Your owner’s manual will provide the most accurate instructions. Common access methods include:
Direct Access: In some vehicles, the bulb is accessible after simply opening the hood and removing a protective cover.
Removing the Headlight Assembly: More complex designs may require removing the entire headlight assembly; this often involves loosening fasteners and carefully disconnecting electrical connectors.
Step 4: Removing the Old Headlight Bulb
Once you have access to the bulb, carefully disconnect the electrical connector. This is usually a simple clip or twist-lock mechanism. Then, depending on your bulb type and vehicle design, you may need to twist the bulb to release it or use a retaining clip. Always take the time to study your bulb and how it fits in the housing before attempting to remove it. Avoid touching the glass of the bulb itself with your bare hands, as oils from your skin can reduce its lifespan.
Step 5: Installing the New Headlight Bulb
Carefully insert the new headlight bulb into the housing, ensure it aligns correctly and seated firmly engaging properly with any retaining clips. Reconnecting the electrical connector should be straightforward.
Step 6: Testing and Reassembly
After installing the new headlight bulb, carefully reassemble the headlight assembly. Turn on your headlights to verify the new bulb is functioning. Check both the low and high beams to ensure the new bulb is functioning correctly. If the new bulb does not work, double-check your connections and ensure you’ve installed the correct bulb type.
Step 7: Disposal of Old Bulb
Used headlight bulbs should be disposed of responsibly. Check with your local waste management facility for proper disposal instructions.
Replacing your headlight bulb is a manageable task that can save you both time and money. However, while this guide provides general instructions, your specific vehicle may have variations in the process. Always refer to your owner’s manual for detailed, model-specific instructions.
Taking the time to understand your vehicle’s unique features will ensure a safe and successful headlight bulb replacement and enhance your vehicle’s safety and visibility. Nonetheless, if you feel uncomfortable or are unsure about any step of the process, it’s always best to consult a qualified mechanic.


